Thursday, October 27, 2011

Halloween Mantel

I haven't had a mantel in the last, umm... ten years-ish. So, even though we're renting this place, and the mantel wood probably rates a negative 7 in Darcy's Top 100 Favorite Woods, I'm still having a fun time decorating it.

And I really love what's going on up in this joint for Halloween Time.


And I did it on the SUPER CHEAP, which I especially love.

The only thing still up there from my usual mantel decor is the round wood vase. But I switched out the white silver dollar stems that are usually in it for some incredibly dark purple, spooky flowers. 

Then I bought a bunch of Dollar Tree cylinder vases, hurricane candleholders and taper candleholders. I even picked up a couple bargain candleholders from my favorite thrift store. 


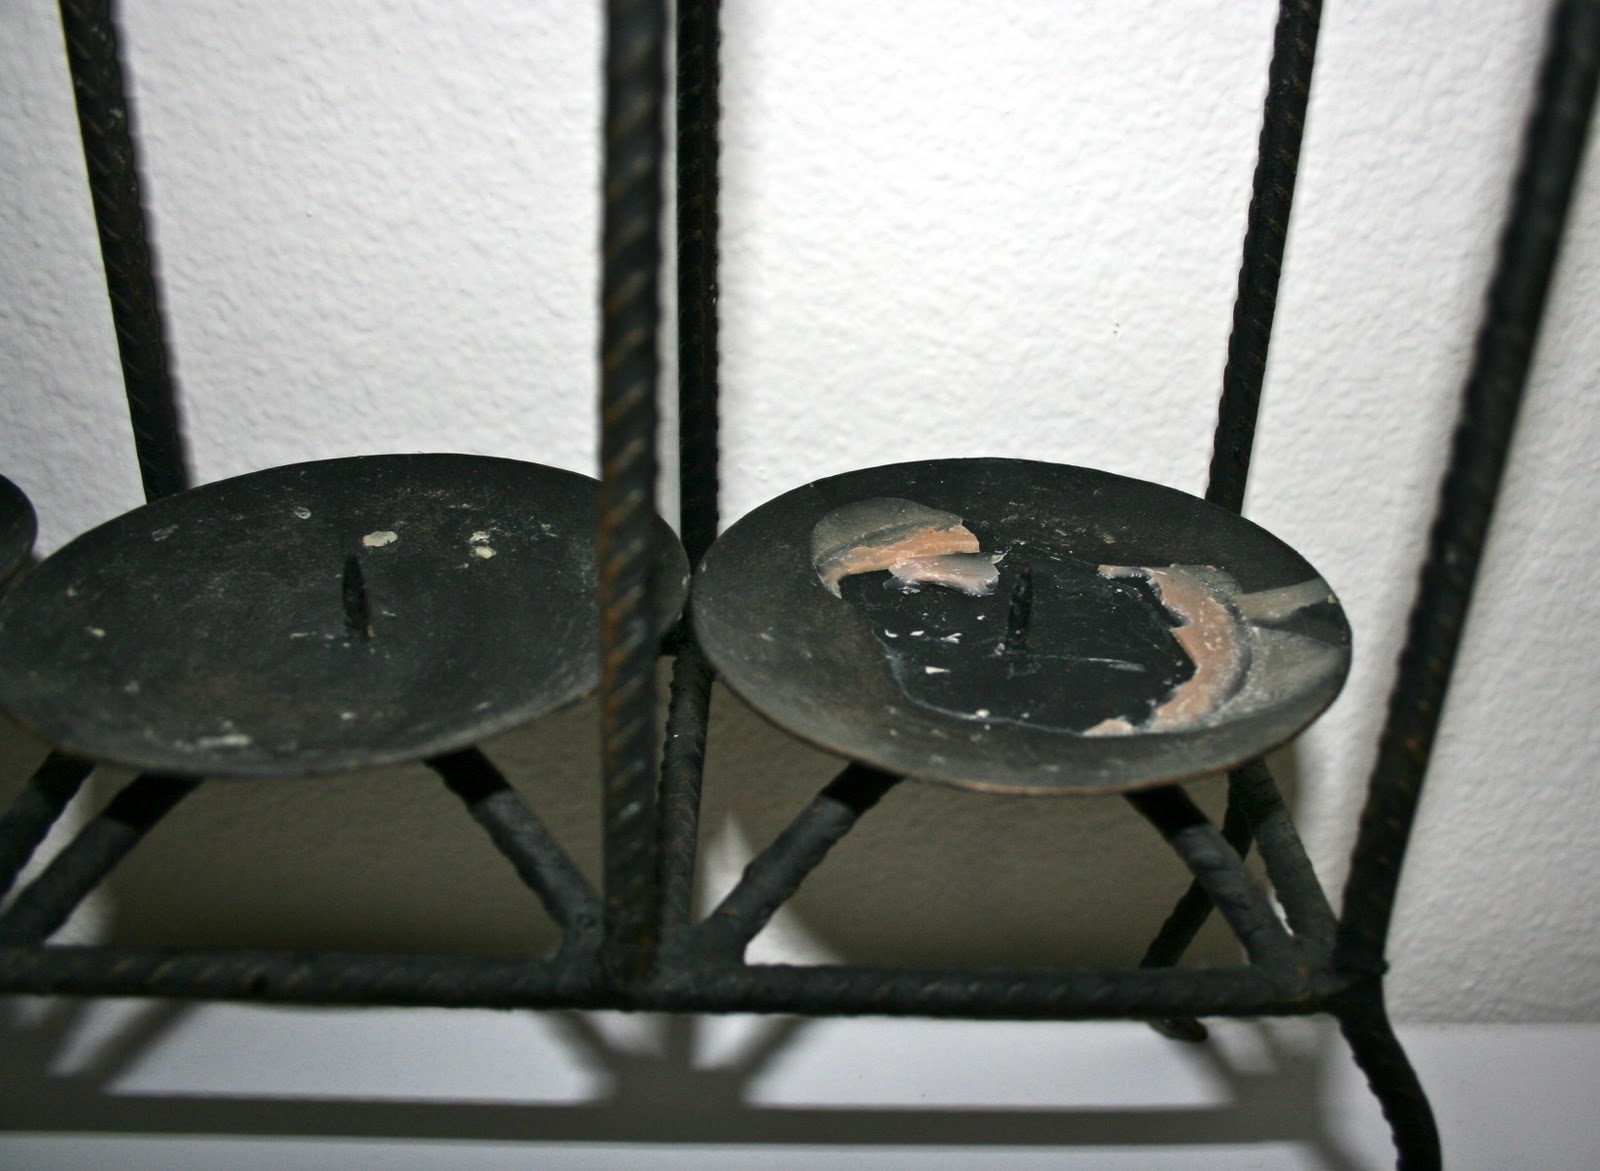
I spray painted a couple of the taper candleholders lacquer black, the same that I used for my Halloween Branches, and left a couple plain glass because I like the sparkle. Then I Gorilla Glued the bases and the tops together. Don't they look so fancy? Gorilla Glue is fantastic, but it expands like crazy, so use the tiniest bit you possibly can.

I also wanted to leave a couple of the vases plain glass so that I could use them again for Christmas decorations. But then I couldn't help myself and glue gunned some spiders onto that orange candle vase, so there goes that one. Now it's stuck in Halloweenland for the rest of its life. The tall vase with the black base is filled with plastic spider rings I bought at Walmart last year. I love all the Halloween color they bring in. The eyeballs and skeleton guy bust are from The Dollar Tree.


The cute little Happy Halloween bucket I bought in the dollar bin at Target. Adorable, right? And I really love my skeleton bouquet I have going on in the tall vase. The silver glitter skeletons are from Michael's and the black ones are from a Dollar Tree skeleton garland that I took apart. The bony hands are from Michael's, but they were Peyton's. I had to trade him five eyeballs for them. Seriously. It was kind of awesome. I filled the rest of the bony hand vase with some leftover orange flowers to add more color.


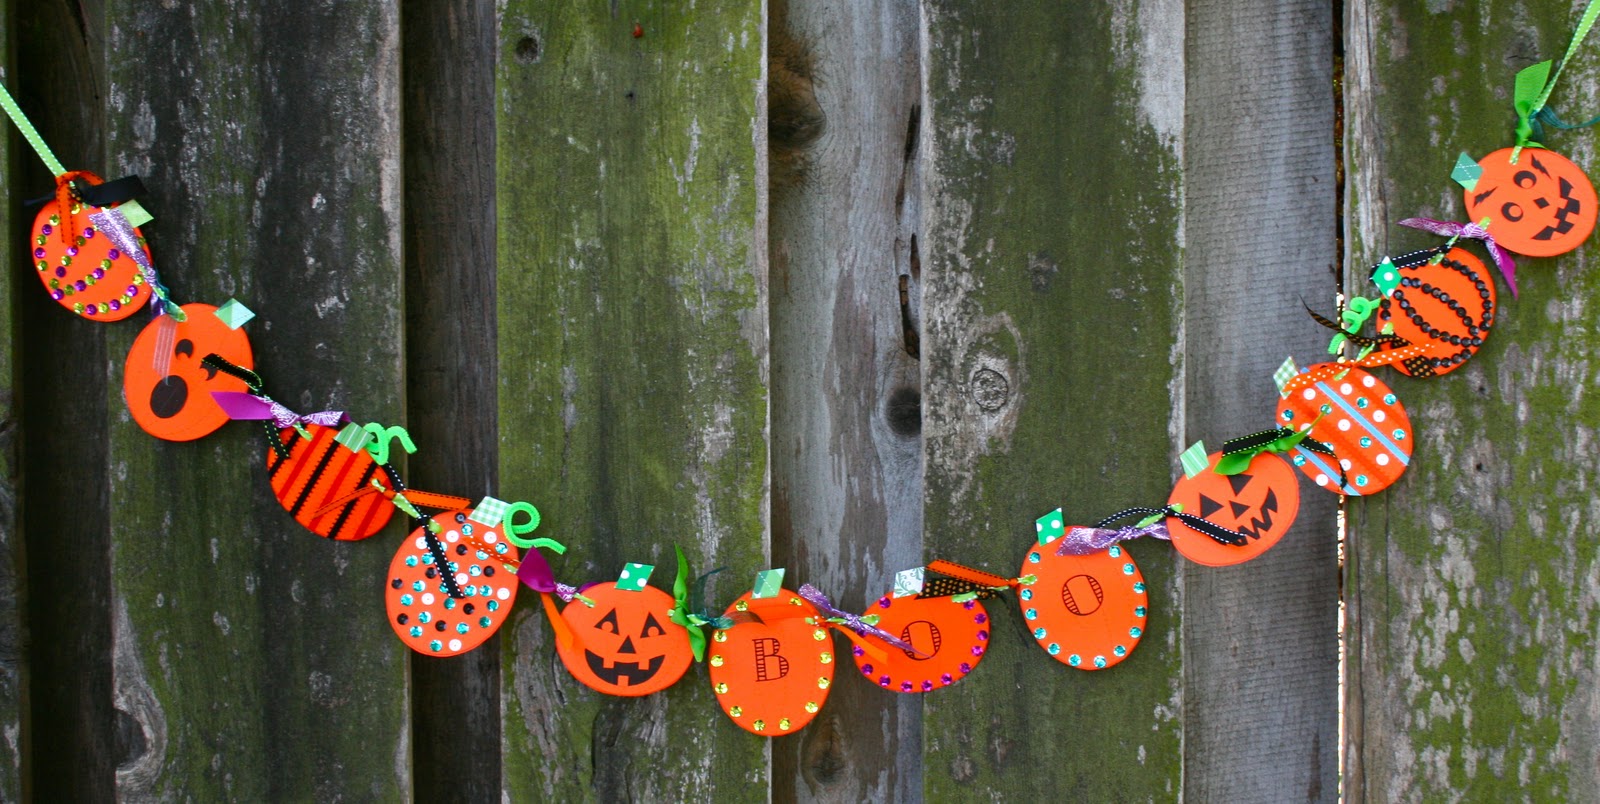
The banners, of course, are from my shop. I especially love the one on the top, because Peyton and Ella helped me make it. 


I love my Halloween mantel! I love how the vases are bright and sparkly and I love all the Halloween colors. What do you think?


Happy Halloween Decorating!


Wednesday, October 19, 2011

Halloween Branches

So Ali was all - Hey, I scored some branches from the park, want some?
And I was all - Hells yes!
And my mom was all - OH MY DEAR LORD, PLEASE USE PROPER ENGLISH!

I shoved the branches in my car and took them home. I stuck them in a $1 vase from my Dollar Tree store stash. What's that scratch in my car's headliner? Why, sweet husband, I have no idea! The kids must have done something.


And then I spray painted the branches Lacquer Black and filled the vase up with orange and black and clear gems. What's that black paint over-spray doing in the shape of Halloween branches all over the used-to-be-green shrubs at the back of my apartment complex? Why, apartment police, I have no idea! There must have been a wild pack of lacquering hooligans wandering about. 


And then I painted on a little silver glitter paint. And then a little more. And then, oh let's just go for it, I covered every single branch in sight.


And then I hot glued on some cute little tiny spiders from Michael's.


And clipped on some spooky butterflies.


And more spiders, big and small...


And a spooky bird. Just because I could. I'm totally the boss of these branches.


I covered those glittertastic black lacquered branches with spooktastic wildlife. 


And I gave my Halloween branches some Halloween table neighbors. BOO pumpkins that I made last year, Dollar Tree eyeballs and a Dollar Tree skeleton necklace that I dismembered and stuck in a glass jar.


And even if I have to buy a brand new Halloween storage box just to safely store my free branches in the off-season, you better believe I'm going to do it. I love them! 

Thank you for sharing your branches with me, Ali! I couldn't be more thrilled with how they turned out.


Happy Halloween!


Monday, October 10, 2011

Taco Soup

So. My computer kind of died.

It's been at the almighty computer fixer shop for too long and I've been very sad about it. The computer fixer guy was all - Maybe you should stop eating bagels over the keyboard. And I was all - Well, maybe YOU should install a crumb catcher because THAT'S NOT GOING TO HAPPEN!

Right now I'm sitting at my husband's desktop computer - not eating a bagel - because I've been lovingly threatened just a teeny tiny bit - and I find it completely annoying.

For as long as I can remember I've had a laptop that I could boss around and drag from room to room and bed to couch to kitchen table. My husband's computer demands that I sit at a desk. It's mean that way. It is big and heavy and NOT my friend. And it bosses ME around: "No. You have to sit where I tell you. Take that! Sit there and type on my crumb-free keyboard and be grateful your husband has a computer you can use. You don't KNOW me!"

The nerve! I would like to say that his computer reminds me of HAL from "2001: A Space Odyssey", but my life has been overrun by my children, so now it just reminds me of Plankton's computer wife Karen from "Spongebob Squarepants."

I used to be a cool girl with a cool laptop. I could blog cool-style while I roamed around and saw the sights of the house. Exciting! I know! I'm here, I'm there, I'm everywhere! I'm freeeeee!

Now I'm stuck at a desk referencing Spongebob.

It's been a while since I posted, so I'm a gonna start with an easy recipe post. The original recipe was from Paula Deen, which is really surprising, since it doesn't contain even a single stick of butter. I changed a whole bunch of stuff around anyway. Like changing the ground beef to ground turkey because it's more healthful. *sigh*.  And omitting the Ranch salad dressing mix because that stuff in a soup just kind of freaks me out. The first time I made Paula's recipe, I was all, "You call this a soup? This ain't no stinkin' soup! Where's the soupiness?" And there really isn't any. It's just the liquid from the canned goods - so you don't need to drain them. It's more of a taco chili, I would say. Doesn't matter. It's still totally delicious! And it is really, really easy and fast to make.

Oh Paula, I still love you and secretly hope you'll become my bonus grandma.


Taco Soup

Ingredients:
1.25 lbs package ground turkey
2 cups diced onions
1 (30 oz) large can pinto beans (or whatever kinds of beans you like)
1 (30 oz) large can kidney beans
2 cups frozen corn
4 (14.5 oz) cans diced tomatoes (with or without chiles - I like mine with)
2 (4.5 oz) small cans diced green chiles
1 (1.25 oz) package low-sodium taco seasoning mix
(Optional) Extra dashes of cumin, garlic powder, chili powder, salt and pepper - as needed

Optional Toppings:
Fritos! NOT really an option, actually. Do it!
Sour cream
Grated cheese
Chopped green onions
Chopped cilantro
Pickled jalapenos

Make It:
Brown the ground turkey and onions in a large stockpot. Add the beans, corn, tomatoes, green chiles, and taco seasoning. Cook over low heat for as long as you can stand it.

What was that first picture missing? Ah, yessss! Lots and lots of Fritos!!!


Enjoy!


Sunday, September 25, 2011

Halloween Pumpkin Banner Craft Kit

It's new craft kit time! Introducing my new Halloween Pumpkin Banner! And this one, just like the Christmas Tree Banner kit, is for the whole family to enjoy!


The kit includes supplies to make a 7-foot banner with 12 spookilicious pumpkins. All you need to supply are a super awesome kid or two (you can have up to twelve kids make this kit) and scissors. Really, you don't even need to supply the kids. Make one all by yourself. I did.


But! If you do make one with the kids, here's the plan: You gather everyone at a table, or even a nice big spot on the floor, and lay out all the decorations I've included - short pumpkins, tall pumpkins, scrapbook paper stems, chenille stem vines, sequins, letters to spell out BOO, lots jack-o-lantern eyes and eyebrows and noses and mouths, and decorative ribbons! Whew! That's a lot of fun stuff!


Then you divide up the pumpkins and start decorating! It's fun and creative time for the whole family. Most importantly, it's quality time with your kids - it doesn't get any better than that!


When all the pumpkins are completed, you string them together to create a beautiful Halloween banner (and memory) that can be lovingly brought out year after year. 


If you have 2 or more kids decorating the pumpkins, and they each want a banner, it's no problem! Just cut the long banner ribbon into as many pieces as you need, and each child can make a mini-banner! 

And look at the cute packaging it all comes in! 


Here are some extra pumpkins the Ella, Peyton, and I made. 


Ella made the witch with the sequin face and purple and orange ribbon hair. Then she sweetly asked me to cut out a witch's hat. And that's why I now include a piece of plain black card stock in the decorations - just in case your kid is super creative and thinks outside the sequin-BOO-letters-jack-o-lantern-face-decorative-ribbon-box - I've got you covered!

Peyton made the scary-looking jack-o-lantern with the lightning bolt eyebrows. I don't think he even cared about the rest of the face. He based his whole pumpkin around those lightning bolts.

I made the mummy pumpkin with the orange and purple criss-cross ribbons. I love my spooky little mummy pumpkin!

And we strung them all up on a mini banner. I love it! And my kids love showing off the pumpkins they made.


Happy Halloween Crafting!


Saturday, September 17, 2011

"Blue Ocean Breeze" Spray Paint Beneficiary #839

I've had this candle holder since before James and I got married. Whooeee! That was a long time ago! This December we will have been married for A DECADE! 10 years and it only feels like we've been married for 5 minutes. Like 5 minutes UNDER WATER. Ha! Just kidding! I love you, honey!

Anyway! Z Gallerie candle holder. Old and boring and black. I still like the curvy Asian pagoda look of it, but the color was just not not meshing with what I have going on in this here joint.


Someone should really clean up that wax.


I think it saw me coming with my can of spray paint, because I found it cowering in the corner of my closet.

Take that, sucker! And take these new white candles, too!


Do you hear the pagoda candle holder angels singing?

Now it's no longer banished to the dark recesses of my closet. It has earned a prominent position on the top of our bedroom chest dresser thing. 


Next to my favorite Ross owls and Z Gallerie clearance hourglass. So sparkly! 


I'm not the kind of person who doesn't light candles in order to keep them all perfect and fancy. But, I'll tell you! I'm having a hard time lighting these. Maybe because it's all so white and shiny and sparkly up in here. The rest of my house is not like this. In comparison, it kind of goes like this when you look around: crap crap crap junky crap SPARKLE WHITE AND BLUE PRISTINE DRESSER TOP crap crap. Okay, not really! But still! It's like this (but replace the Fluffy with SPARKLY AND PRETTY!):


Even when we had that big huge California power outage a week ago, and we were without power for nine hours, and night came, and it was dark, and we lit about a thousand candles, we didn't light these. Weird, right? I have my priorities.

We still need some sort of artwork to put on the wall behind it, but I still really love how it all looks. 


Sometimes, when James and I are feeling really wild and frisky . . .

wait for it . . .

We switch the candle holder from one side of the dresser to the other. I KNOW! It's hard to keep up with that kind of marriage magic. 


The candle holder looks so happy in its new color, don't you think?


LinkWithin

Related Posts Plugin for WordPress, Blogger...